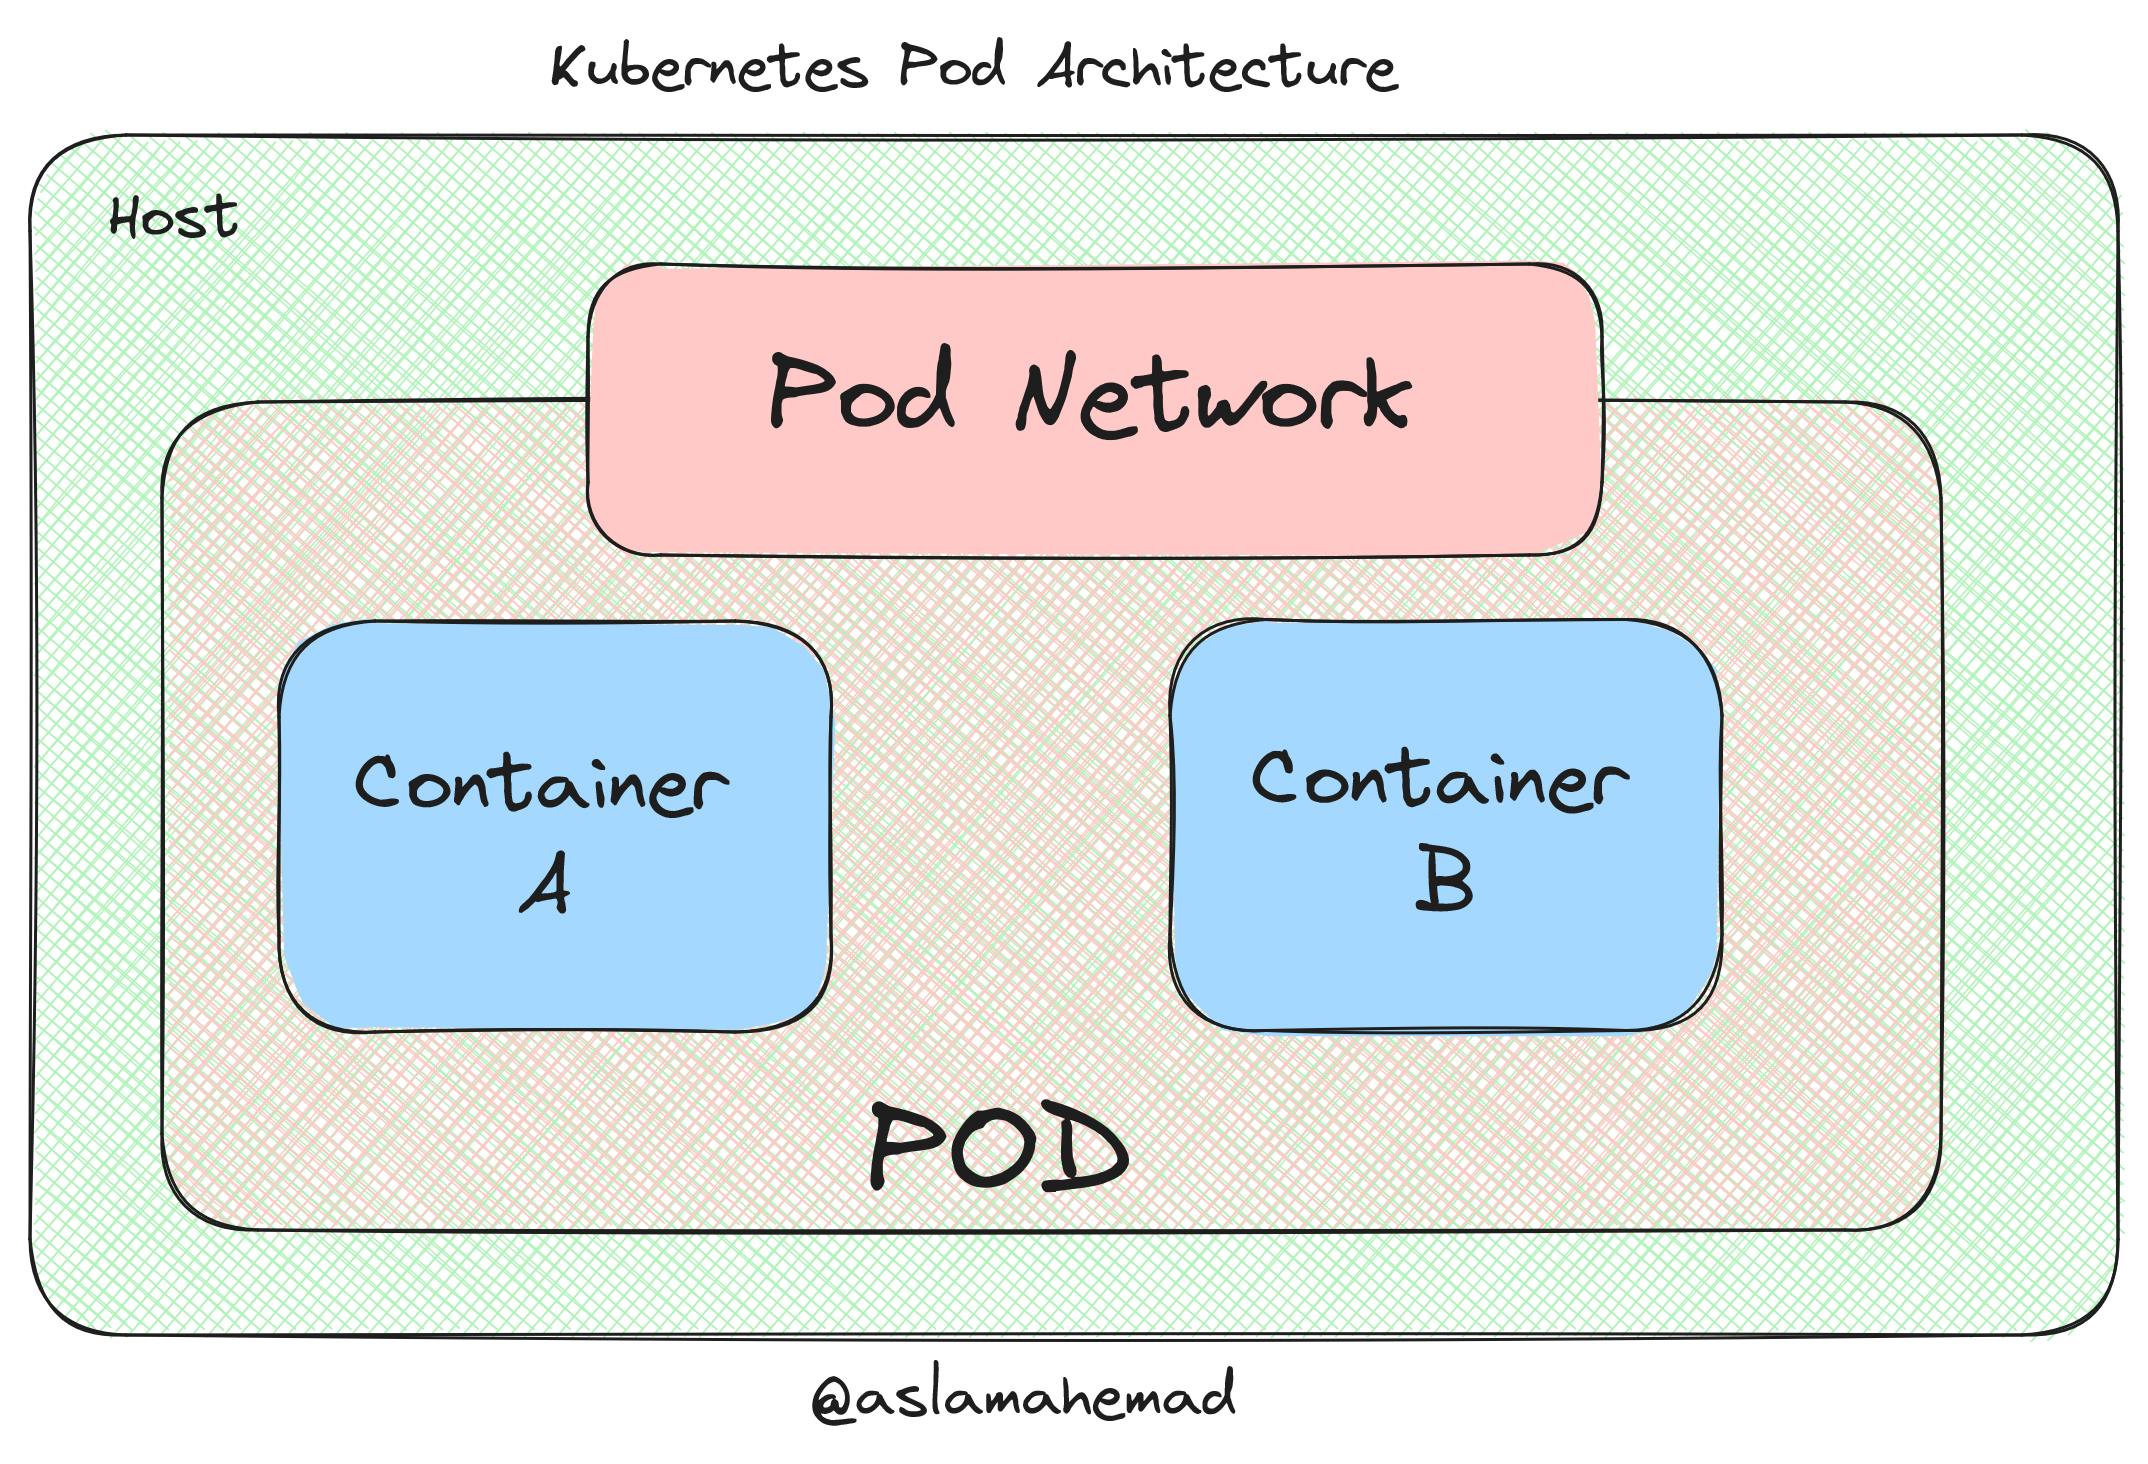
Kubernetes is an open-source container orchestration platform that automates the deployment, scaling, and management of containerized applications. Pods are the smallest deployable units of computing in Kubernetes. They are a group of one or more containers that share storage and network resources and a specification for how to run the containers. In this blog, we will discuss Kubernetes Pods in detail, including their architecture, lifecycle, use cases, and how to create, view, and destroy them.
Pod Architecture

Pods are designed to support multiple cooperating processes (as containers). They can be used to run a single container that needs to share resources with other containers, run multiple containers that need to share resources, run a sidecar container that provides additional functionality to the main container, or run a helper container that performs tasks such as backups, logging, or monitoring. Pods that run multiple containers that need to work together can encapsulate an application composed of multiple co-located containers that are tightly coupled and need to share resources. These co-located containers form a single cohesive unit of service—for example, one container serves data stored in a shared volume to the public, while a separate sidecar container refreshes or updates those files. Pods also share a network internally - a private network shared whenever a pod is scheduled across all the containers inside the pod. They can also share filesystem volumes. Similar to Docker which uses -volumes-from, it’s the same concept with Kubernetes when running multiple containers inside a pod. You can share ephemeral or copy-on-write style storage from within the pod.
Key Features of Pods
Co-location and Co-scheduling: All containers within a Pod are co-located and co-scheduled on the same node. This means that they share the same resources and can communicate with each other using inter-process communication mechanisms.
Shared Resources: Pods share the same network namespace, allowing containers within a Pod to communicate with each other using localhost. They also share the same storage volumes, making it easy to share data between containers within a Pod.
Atomic Unit: Pods are treated as an atomic unit by Kubernetes. This means that they are created, scheduled, and scaled as a single entity. If a Pod fails or is terminated, all containers within the Pod are also terminated
Pod Lifecycle
Pods have a lifecycle that consists of several phases. These phases are:
Pending: The Pod has been accepted by the Kubernetes system, but one or more of its containers are not yet running.
Running: The Pod has been bound to a node, and all of its containers have been created. At least one container is still running or is in the process of starting or restarting.
Succeeded: All containers in the Pod have terminated in success, and will not be restarted.
Failed: All containers in the Pod have terminated, and at least one container has terminated in failure. The Pod will not be restarted.
Unknown: The state of the Pod could not be obtained, typically due to an error in communicating with the host of the Pod.
Use Cases
Pods are used in Kubernetes for a variety of purposes, including:
Running a single container: A Pod can be used to run a single container that needs to share resources with other containers.
Running multiple containers: A Pod can be used to run multiple containers that need to share resources.
Running a sidecar container: A Pod can be used to run a sidecar container that provides additional functionality to the main container.
Running a helper container: A Pod can be used to run a helper container that performs tasks such as backups, logging, or monitoring.
How to Create, View, and Destroy a Pod
Creating, viewing, and destroying a Pod in Kubernetes is a straightforward process. Here are the basic steps:
Launch a Kubernetes cluster.
Create a YAML file that describes the Pod.
 apiVersion: v1
 kind: Pod
 metadata:
   name: nginx
 spec:
   containers:
   - name: nginx
     image: nginx:1.14.2
     ports:
     - containerPort: 80
Use the kubectl command to create the Pod from the YAML file.
kubectl apply -f nginx.yamlUse the kubectl command to view the Pod.
kubectl get podsUse the kubectl command to delete the Pod.
kubectl delete pod nginx
For more detailed instructions on how to create, view, and destroy a Pod, refer to the official Kubernetes documentation.
Conclusion
Pods are the smallest deployable units of computing in Kubernetes. They are a group of one or more containers that share storage and network resources and a specification for how to run the containers. Pods have a lifecycle that consists of several phases, and they are used in Kubernetes for a variety of purposes. Creating, viewing, and destroying a Pod in Kubernetes is a straightforward process that can be accomplished using the kubectl command.

